


CASE Paletli Dozer 650K Serisi 3 Case 4.5L için 12V 95A 12145/0120484011 Bosch otomobil alternatörü, Case 4.5L motorla donatılmış CASE Paletli Dozer 650K Serisi 3 için özel olarak tasarlanmış yükse...
See DetailsTeklif Al
What Are the Most Common Installation Problems with HITACHI HINO Car Alternators and How Do You Fix Them?
Jun 22, 2026
Why Installation Quality Determines Alternator Lifespan
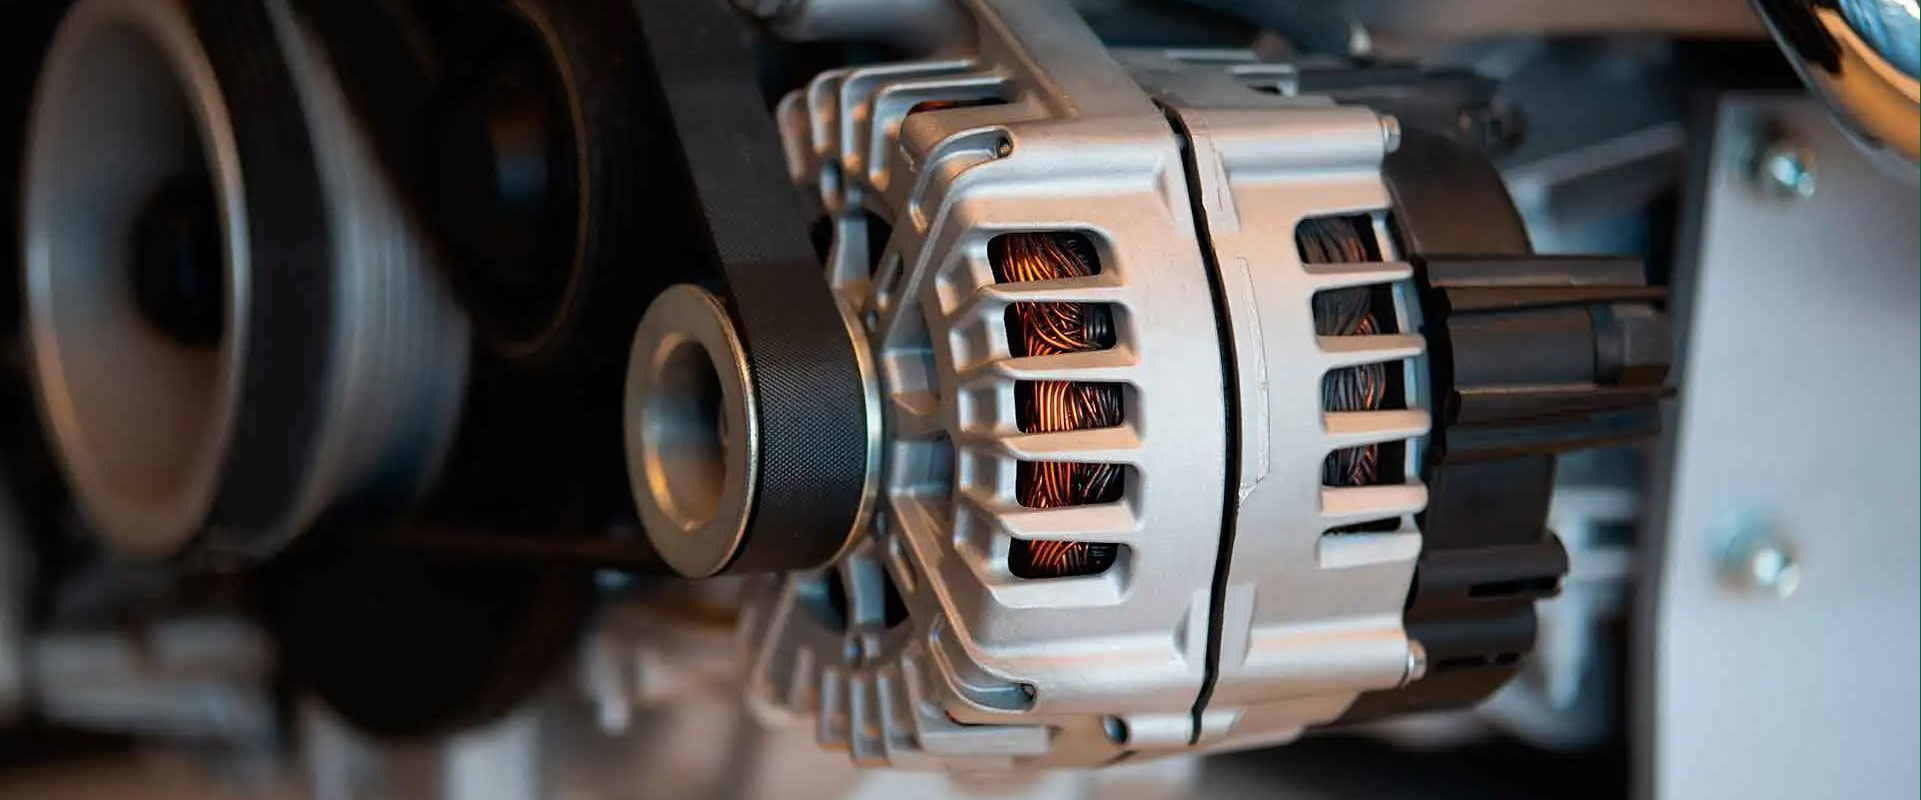
HITACHI alternators fitted to HINO trucks and commercial vehicles are engineered to demanding output and durability standards, but even a high-quality unit will underperform or fail prematurely if the installation is carried out incorrectly. HINO vehicles — ranging from light-duty Rangers to heavy-duty Profia and 700-series trucks — operate in challenging conditions: high engine bay temperatures, continuous vibration, heavy electrical loads from auxiliary systems, and long daily operating hours. In this environment, every detail of alternator installation matters, from bracket alignment and belt tension to terminal torque and ground circuit integrity.
Installation problems with HITACHI HINO alternators fall into several recurring categories: mechanical mounting errors, drive belt issues, electrical connection faults, grounding deficiencies, and post-installation setup oversights. Each category produces distinct symptoms, and understanding the root cause of each is essential for technicians performing replacements in the field. This article covers the most common installation problems in practical detail, explains what goes wrong and why, and provides the corrective actions needed to achieve a reliable, long-lasting installation.
Mechanical Mounting Errors and Bracket Misalignment
The mounting bracket system on HINO engines is designed to position the alternator at a precise angle and height relative to the crankshaft pulley. HITACHI alternators for HINO applications are supplied in configurations matched to specific engine families — including the HINO J05, J08, E13C, and A09C series — and the ear positions, pivot bolt diameter, and adjuster slot geometry differ between variants. Installing an alternator with even a slightly incorrect bracket pattern forces the technician to apply lateral stress to the unit to align the belt, bending the mounting ears or creating uneven load on the front bearing from the moment of first startup.
Pulley Misalignment and Its Consequences
One of the most damaging and frequently overlooked mounting errors is pulley misalignment — a condition where the alternator pulley is not running in the same plane as the crankshaft and accessory pulleys. Misalignment causes the drive belt to track at an angle, producing uneven wear on belt ribs, accelerated wear on the alternator front bearing, and characteristic squealing or chirping noises under load. On HINO trucks with serpentine belt drives, misalignment of even 1–2 mm can significantly reduce belt life and generate enough side-loading on the alternator shaft to cause bearing failure within a fraction of the unit's rated service life. Always use a straight-edge or laser alignment tool across pulley faces after mounting and before tensioning the belt.
Incorrect Fastener Torque
Pivot bolts and adjuster lock bolts must be tightened to the manufacturer-specified torque values. Under-torqued pivot bolts allow micro-movement of the alternator body during operation, which gradually elongates the bolt holes in the mounting ears and eventually produces audible rattling and belt tension loss. Over-torqued bolts distort the alternator housing, can crack cast-iron or aluminium mounting lugs, and make future removal extremely difficult. HINO service manuals specify torque values for each engine variant; always verify the correct figure rather than applying a generic estimate. Typical pivot bolt torque values for HINO J-series engines range from 40–60 N·m depending on bolt diameter and bracket design.
Drive Belt Installation and Tension Problems
The drive belt is the mechanical link between the engine and the alternator, and incorrect belt installation or tensioning is one of the leading causes of post-installation alternator complaints on HINO vehicles. Both V-belt and poly-V (serpentine) belt systems are used across the HINO range, and each has specific requirements.
Consequences of Incorrect Belt Tension
Belt tension that is too low allows slip between the belt and pulleys, particularly under high electrical load when the alternator demands high torque input. Slip produces heat, accelerates belt glazing, and causes the alternator output voltage to drop intermittently — a symptom that is often misdiagnosed as an internal alternator fault. Belt tension that is too high imposes excessive radial load on the alternator's front bearing and the engine's accessory drive bearings, leading to premature bearing failure. HITACHI alternators are designed with a defined maximum radial bearing load; exceeding this figure by over-tensioning the belt voids the warranty and causes early failure.
Use a belt tension gauge calibrated for the belt type in use. For poly-V belts on HINO J08E and E13C engines, HINO typically specifies a new-belt tension of 490–690 N measured with a sonic tension meter at the longest unsupported belt span. After running the engine for 5 minutes and re-checking, used-belt tension should settle into the 390–490 N range. Always refer to the specific HINO service data for the engine in question.
Installing the Wrong Belt Specification
Fitting a belt that is the wrong length, rib count, or cross-section is a common error when sourcing replacement parts independently. A belt that is marginally too long cannot be tensioned adequately; one that is too short prevents the alternator from being positioned correctly in its adjuster slot, forcing the mounting bolts to be torqued with the alternator at the extreme end of its travel — which stresses the bracket and limits future adjustment as the belt stretches with use. Always cross-reference the belt part number against the HINO parts catalogue for the specific vehicle chassis number.

Electrical Connection Faults During Installation
HITACHI alternators for HINO vehicles use a combination of output (B+) terminals, field excitation terminals, and sensing terminals. Errors in connecting these terminals are a significant source of post-installation faults, ranging from no-charge conditions to voltage regulator damage and battery overcharge.
B+ Output Terminal Connection Errors
The main output terminal (B+) carries the full charging current from the alternator to the battery and electrical system — on large HINO trucks this can be 80–150 A or more under full load. Common installation errors at this terminal include using undersized cable, making a high-resistance connection due to corroded or improperly crimped lugs, or failing to tighten the terminal nut to the specified torque (typically 8–12 N·m for M8 studs). Any resistance at this connection causes voltage drop and heat generation proportional to the square of the current; at high alternator output, even a 0.1 Ω fault resistance can generate enough heat to melt terminal insulation and cause an electrical fire. Inspect the cable lug condition, use an appropriate cable cross-section (minimum 25 mm² for most HINO commercial applications), and torque the nut correctly.
Incorrect Regulator Sensing Wire Connection
HITACHI alternators fitted with internal voltage regulators use a sensing wire (often labelled S or IG) to measure system voltage at a reference point and adjust output accordingly. If this wire is left disconnected, connected to the wrong terminal, or has high resistance due to a poor connector, the regulator loses its voltage reference. The result is typically chronic undercharge (if the regulator defaults to a low fixed output) or overcharge (if it defaults to maximum field excitation). On HINO vehicles with sensitive ECU and body control modules, sustained overcharge above 15 V can damage electronic components throughout the vehicle. Always verify the sensing wire circuit continuity and voltage at the connector before completing installation.
Common Electrical Wiring Mistakes to Avoid
- Reversing the field (F) and sensing (S) terminals: These terminals are physically similar on some HITACHI connector bodies; mixing them causes the regulator to receive field feedback instead of system voltage, resulting in unstable or absent charging.
- Leaving the warning lamp circuit open: The L terminal on many HITACHI regulators uses the warning lamp circuit to initiate field excitation at startup. An open lamp circuit means the alternator never begins charging after engine start.
- Reusing corroded or damaged connectors: Old connector housings with oxidized terminals introduce resistance and intermittent faults. Always replace connector bodies and terminals when fitting a new alternator.
- Routing cables against sharp edges or hot surfaces: HINO engine bays are congested; ensure all alternator wiring is routed with adequate clearance from exhaust components, rotating parts, and sharp bracket edges, using original loom clips wherever possible.
Grounding Issues That Undermine Charging Performance
The alternator's output voltage is measured relative to the vehicle chassis ground. Any resistance in the ground path between the alternator body, the engine block, and the battery negative terminal adds directly to the apparent system voltage measured by the regulator's sensing circuit, causing the regulator to reduce alternator output prematurely. The result is a chronic low-charge condition where the battery voltage at the terminals appears marginally acceptable but never reaches a full state of charge.
On HINO trucks, the alternator grounds through its mounting bracket and the engine block. If the bracket-to-block interface has paint, corrosion, or debris between the mating surfaces, the ground resistance increases significantly. Always clean all mounting surfaces to bare metal before assembly. Additionally, verify that the engine-to-chassis ground strap is intact, correctly routed, and has clean, tight connections at both ends. A ground strap that has been kinked, abraded, or corroded can add tens of milliohms to the ground circuit — enough to cause measurable charging problems under high current loads.
Post-Installation Checks Before Returning the Vehicle to Service
Completing the physical installation is not the end of the process. A structured post-installation verification routine catches errors before they cause damage in service. The following checks should be performed on every HITACHI HINO alternator installation:
| Check | Method | Acceptable Result |
| Pulley alignment | Straight-edge or laser across pulley faces | ≤1 mm offset across all pulleys |
| Belt tension | Sonic tension meter or deflection gauge | Per HINO service spec for engine model |
| Output voltage at idle | Multimeter at battery terminals | 13.8 – 14.8 V (24 V system: 27.6 – 29.2 V) |
| Voltage drop — B+ circuit | Multimeter between B+ terminal and battery positive under load | ≤0.5 V at full output current |
| Voltage drop — ground circuit | Multimeter between alternator case and battery negative under load | ≤0.2 V at full output current |
| Charge warning lamp | Visual check at key-on and after engine start | Lamp illuminates at key-on, extinguishes after start |
| Abnormal noise | Listen at idle and under electrical load | No whine, squeal, rattle, or grinding |
Performing this verification sequence takes less than 15 minutes but provides confidence that the alternator is mechanically secure, electrically connected correctly, and delivering the correct output under real operating conditions. Any deviation from the acceptable results above should be investigated and corrected before the vehicle is returned to service. Releasing a HINO commercial truck with an incorrectly installed alternator risks not only repeat component failure but also unexpected vehicle breakdowns, battery discharge, and potential damage to the vehicle's electronic systems — all of which carry far greater costs than the time invested in a thorough post-installation check.
İlgili ürünler
-
-
ZKM 82027 model otomotiv alternatörü, 80A sürekli çıkış akımına sahip 12V DC sistemi için derecelendirilmiştir. Çeşitli ticari ve binek araçlara uygun, istikrarlı performans, dayanıklılık ve güveni...
See Details -
ZKM22306 otomotiv alternatörü, entegre bir dahili voltaj regülatörüne sahip, 50A sürekli çıkış akımıyla 24V DC sisteminin nominal voltajında çalışır. İstikrarlı performans, dayanıklılık ve güve...
See Details -
ZKM32303B otomotiv alternatörü, entegre bir dahili voltaj regülatörüne sahip, 50A sürekli çıkış akımıyla 24V DC sisteminin nominal voltajında çalışır. İstikrarlı performans, dayanıklılık ve güv...
See Details -
ZKM32303A otomotiv alternatörü, entegre bir dahili voltaj regülatörüne sahip, 50A sürekli çıkış akımıyla 24V DC sisteminin nominal voltajında çalışır. İstikrarlı performans, dayanıklılık ve güv...
See Details -
ZKM32303 otomotiv alternatörü, entegre bir dahili voltaj regülatörüne sahip, 50A sürekli çıkış akımıyla 24V DC sisteminin nominal voltajında çalışır. İstikrarlı performans, dayanıklılık ve güve...
See Details
Teklif Al

Ürünler
Tedarik Ettiğimiz Ürünler
Şirket Profili
Marş Motoru ve Alternatörlerin Güvenilir Üreticisi
@@TRANS_006@@ Changzhou Hancheng Auto Parts Co., Ltd. Ar-Ge, üretim ve satışı birleştiren modernize edilmiş bir sanayi ve ticaret kuruluşudur ve 27 yıldır otomotiv motorları alanında çalışmaktadır.
Çin'de otomotiv alternatörleri üreticisi ve araba alternatör fabrikasıyız, %100 yeni ve özelleştirilmiş yüksek performanslı araba alternatörleri sunuyoruz.
Ulusal marka BAIXIN ve ihracat markası ZEKEMARK'a sahibiz. Amiral gemisi ürünlerimiz BOSCH ve DENSO serisi motorlardır ve OEM özelleştirmesini de kabul ediyoruz.


-
0
Kuruluş
-
0
Fabrika Alanı
-
0+
Üretim Deneyimi
-
0
Üretim Hattı
Şirket Profili
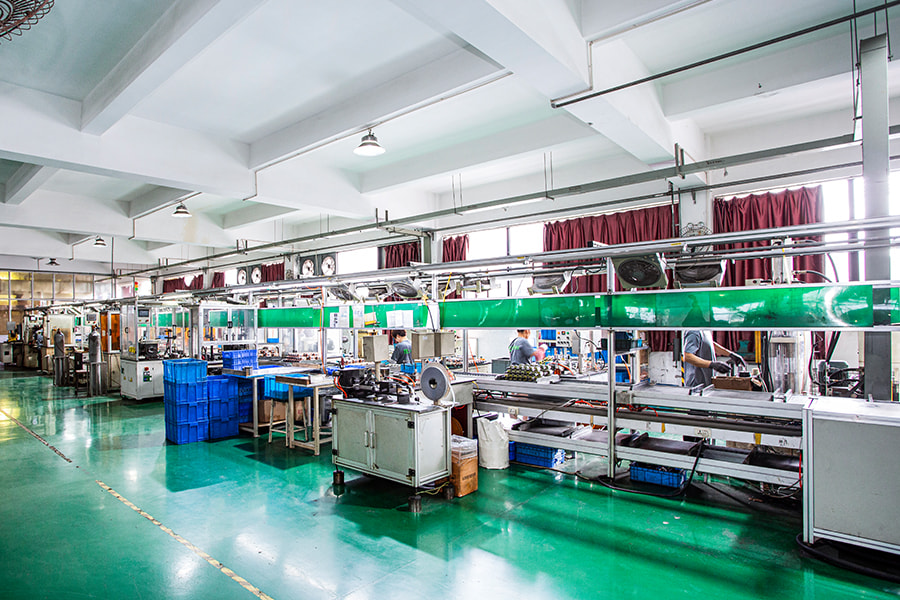
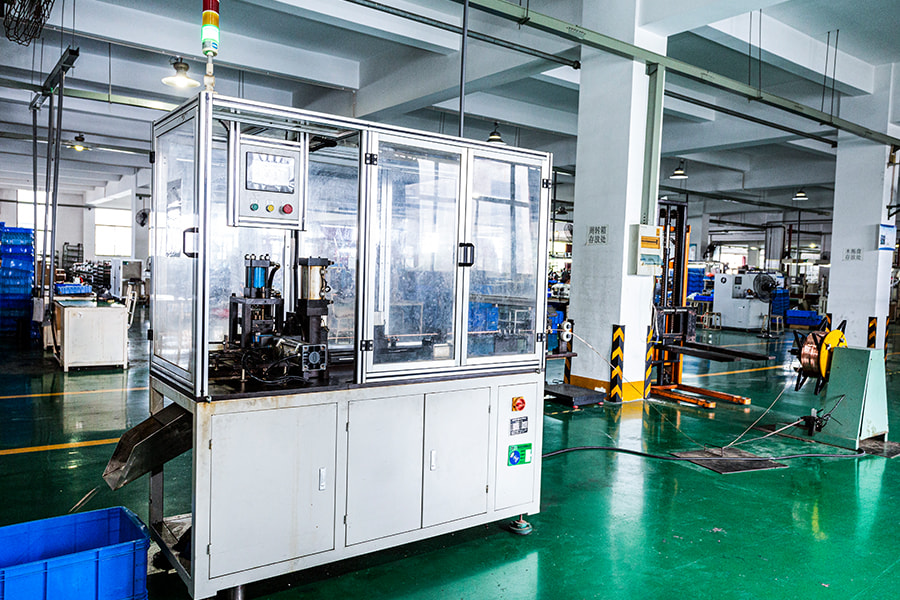
Akıllı Üretim
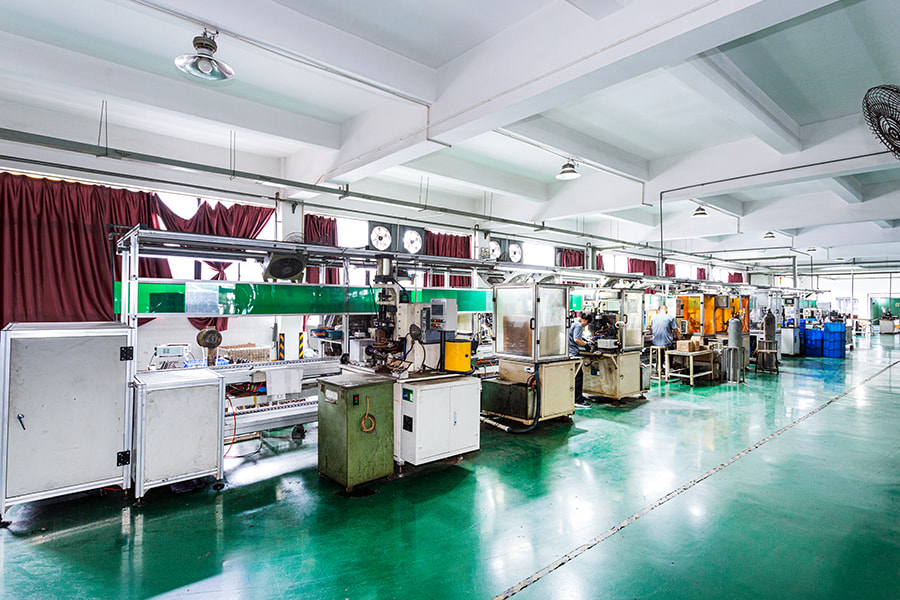
27 yıllık profesyonel üretim deneyimiyle Changzhou Hancheng Auto Parts Co., Ltd., hammadde tedarikinden hassas işleme ve montaja kadar dikey bir üretim üssü kurmuştur. Her marş motoru ve alternatörün istikrarlı performans ve uzun ömürlü kalite sunmasını sağlamak için otomatik üretim hatları ve sıkı ISO 16949 kalite yönetim sistemi kullanıyoruz.
Haberler
Son Haberler
-
Why Installation Quality Determines Alternator Lifespan HITACHI alternators fitted to HINO trucks and commercial vehicles are engineered to demanding ...Jun 22, 2026
-
Isuzu Araçlarında Alternatörün Rolünü Anlamak alternatör Herhangi bir aracın elektrik sistemindeki en kritik bileşenlerden biridir ve Is...Jun 16, 2026
Teklif Al
Ürünler
Tedarik Ettiğimiz Ürünler
Şirket Profili
Marş Motoru ve Alternatörlerin Güvenilir Üreticisi
@@TRANS_006@@ Changzhou Hancheng Auto Parts Co., Ltd. Ar-Ge, üretim ve satışı birleştiren modernize edilmiş bir sanayi ve ticaret kuruluşudur ve 27 yıldır otomotiv motorları alanında çalışmaktadır.
Çin'de otomotiv alternatörleri üreticisi ve araba alternatör fabrikasıyız, %100 yeni ve özelleştirilmiş yüksek performanslı araba alternatörleri sunuyoruz.
Ulusal marka BAIXIN ve ihracat markası ZEKEMARK'a sahibiz. Amiral gemisi ürünlerimiz BOSCH ve DENSO serisi motorlardır ve OEM özelleştirmesini de kabul ediyoruz.-
0
Kuruluş
-
0
Fabrika Alanı
-
0+
Üretim Deneyimi
-
0
Üretim Hattı
Şirket Profili
Akıllı Üretim
27 yıllık profesyonel üretim deneyimiyle Changzhou Hancheng Auto Parts Co., Ltd., hammadde tedarikinden hassas işleme ve montaja kadar dikey bir üretim üssü kurmuştur. Her marş motoru ve alternatörün istikrarlı performans ve uzun ömürlü kalite sunmasını sağlamak için otomatik üretim hatları ve sıkı ISO 16949 kalite yönetim sistemi kullanıyoruz.
Haberler
Son Haberler
-
Why Installation Quality Determines Alternator Lifespan HITACHI alternators fitted to HINO trucks and commercial vehicles are engineered to demanding ...Jun 22, 2026
-
Isuzu Araçlarında Alternatörün Rolünü Anlamak alternatör Herhangi bir aracın elektrik sistemindeki en kritik bileşenlerden biridir ve Is...Jun 16, 2026